

Using IP Lens
IP Lens groups related networking tasks into individual tools. Online tools disclose the receiving service before a request, while calculations and file preparation that do not need an external data source stay on the iPhone.Look up a public IP address
On first launch, IP Lens waits until you finish onboarding before making any provider request. After onboarding, automatic current-public-IP lookup is enabled by default and can be disabled under Settings → Look up my public IP on launch. You can also enter a public IPv4 or IPv6 address manually. A successful response can include:- Approximate country, region, city, timezone, and map coordinates
- ISP, organization, ASN, and provider-domain details
- Provider-supplied currency, connection, or proxy signals when available
Query DNS records
From Utilities, open DNS Lookup, select a record type, enter the name or address, and run the query. IP Lens supportsA, AAAA, CNAME, MX, NS, TXT, and PTR records.
Choose Cloudflare or Quad9 under Settings → DNS Resolver. Each query goes only to the active resolver, which is shown again before the lookup.
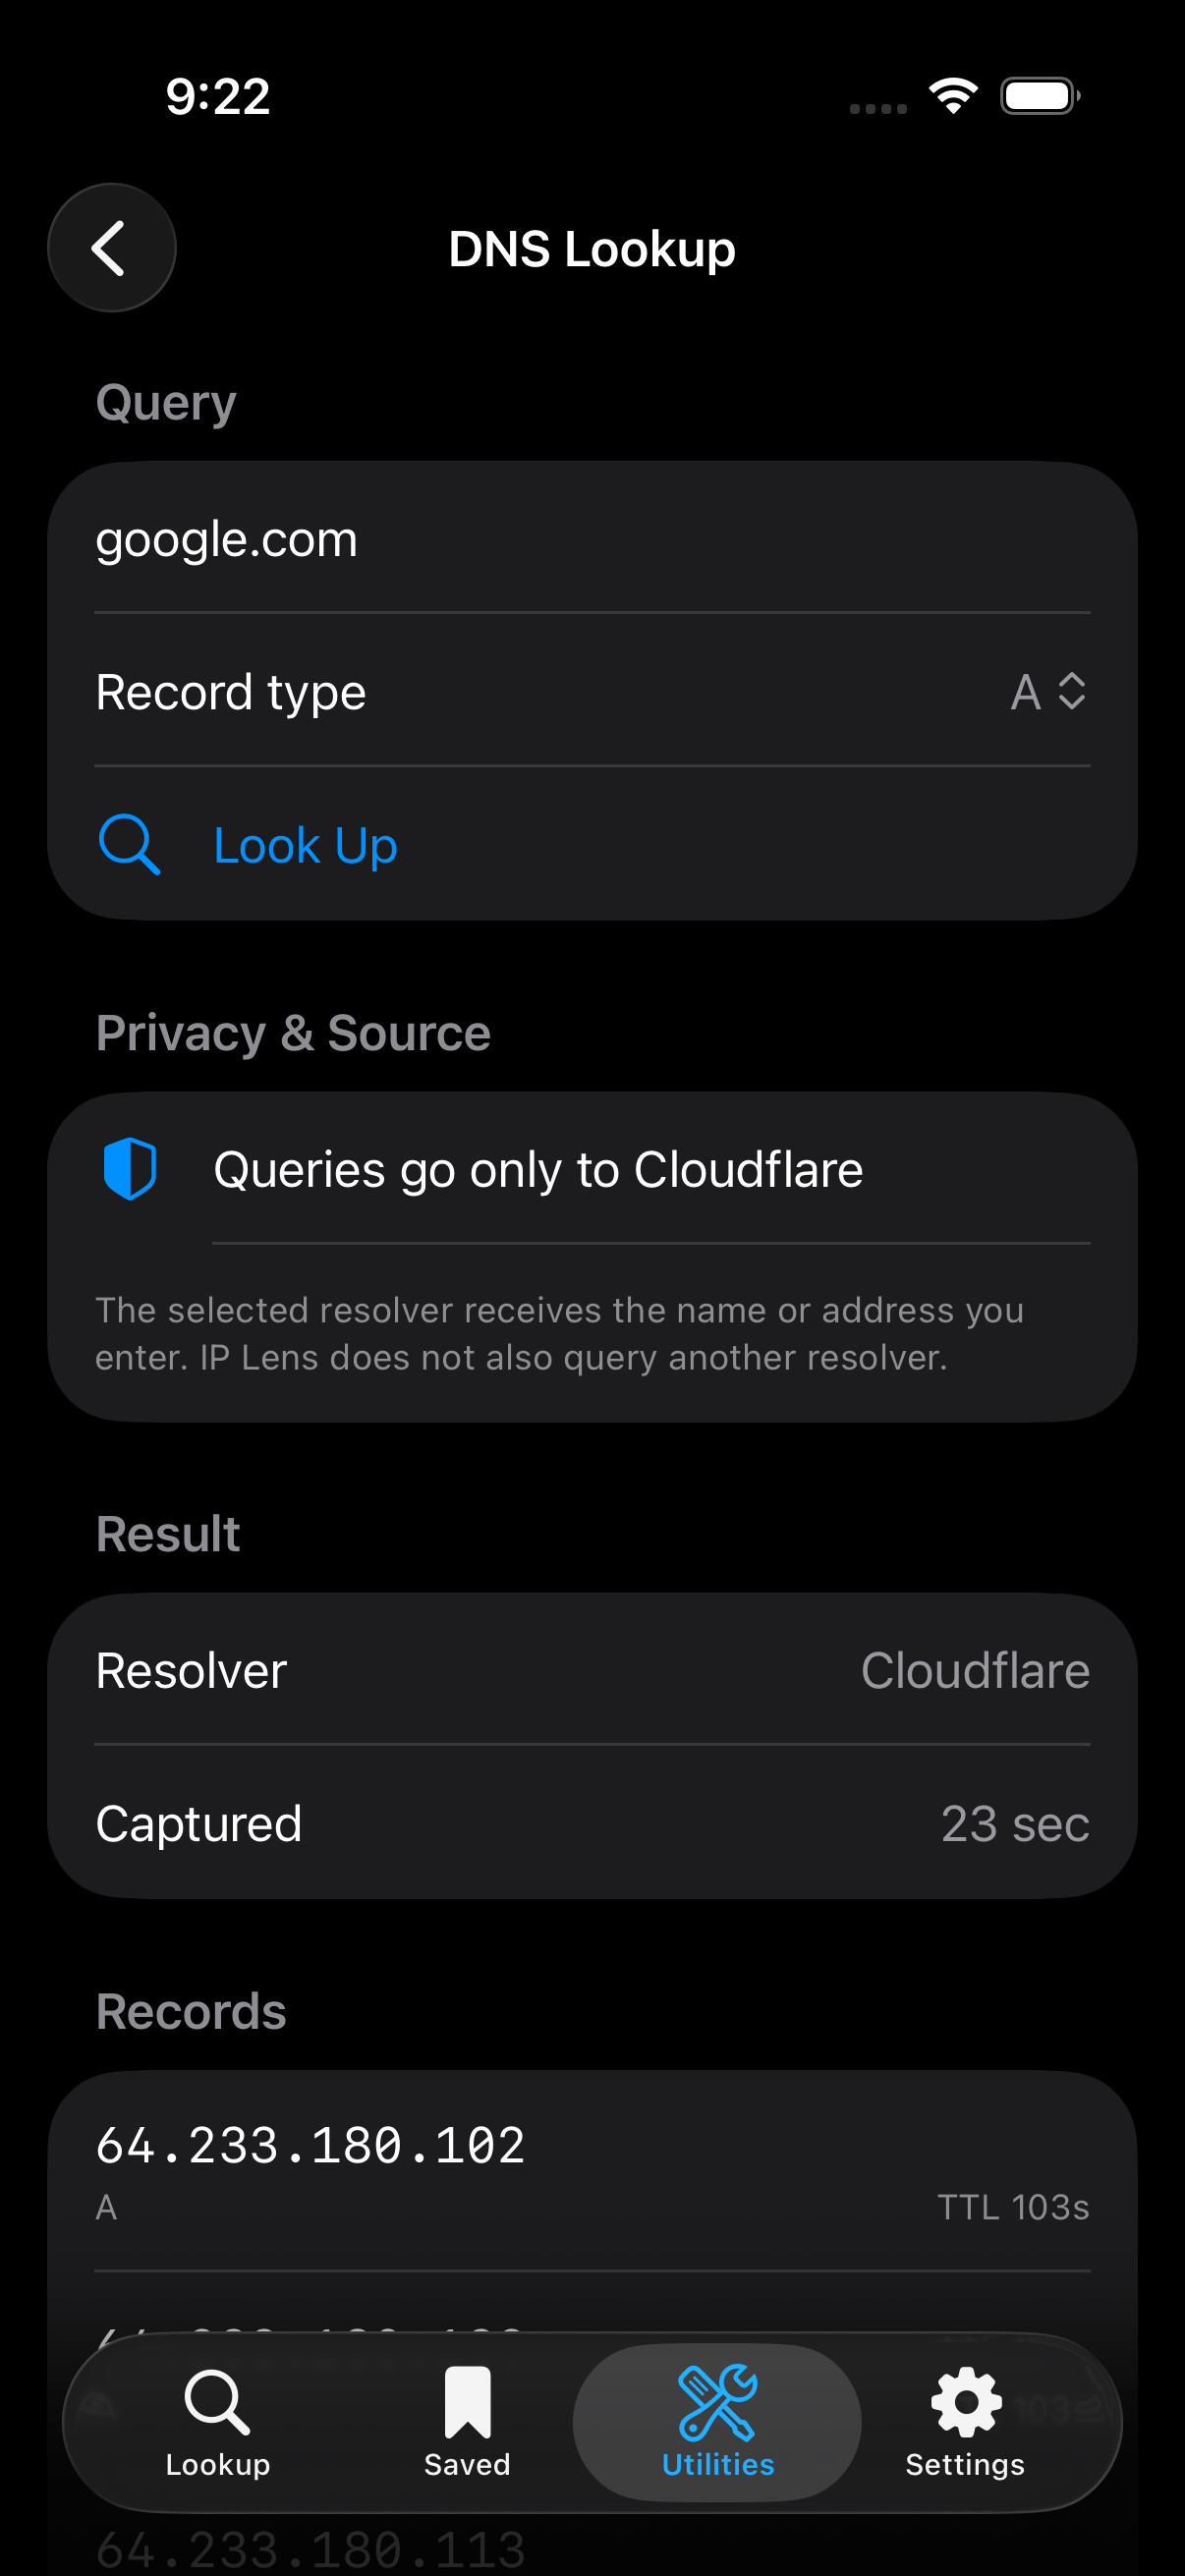
DNS Lookup sends the query to the one resolver selected in Settings.
Review registration data
Open Registration Lookup, choose domain, IP, or ASN, then enter the corresponding value. IP Lens uses IANA bootstrap data to select the authoritative RDAP registry and sends the query directly to that registry. RDAP results can include network ranges, entities, nameservers, registration events, notices, and source links. Availability varies by registry and resource.Calculate a subnet offline
Open Subnet Calculator and enter an IPv4 or IPv6 address with a prefix, such as192.0.2.10/24 or 2001:db8::1/64. The result can include the normalized network, address range, netmask or prefix, and address capacity.
The calculation runs entirely on-device and does not require an internet connection.
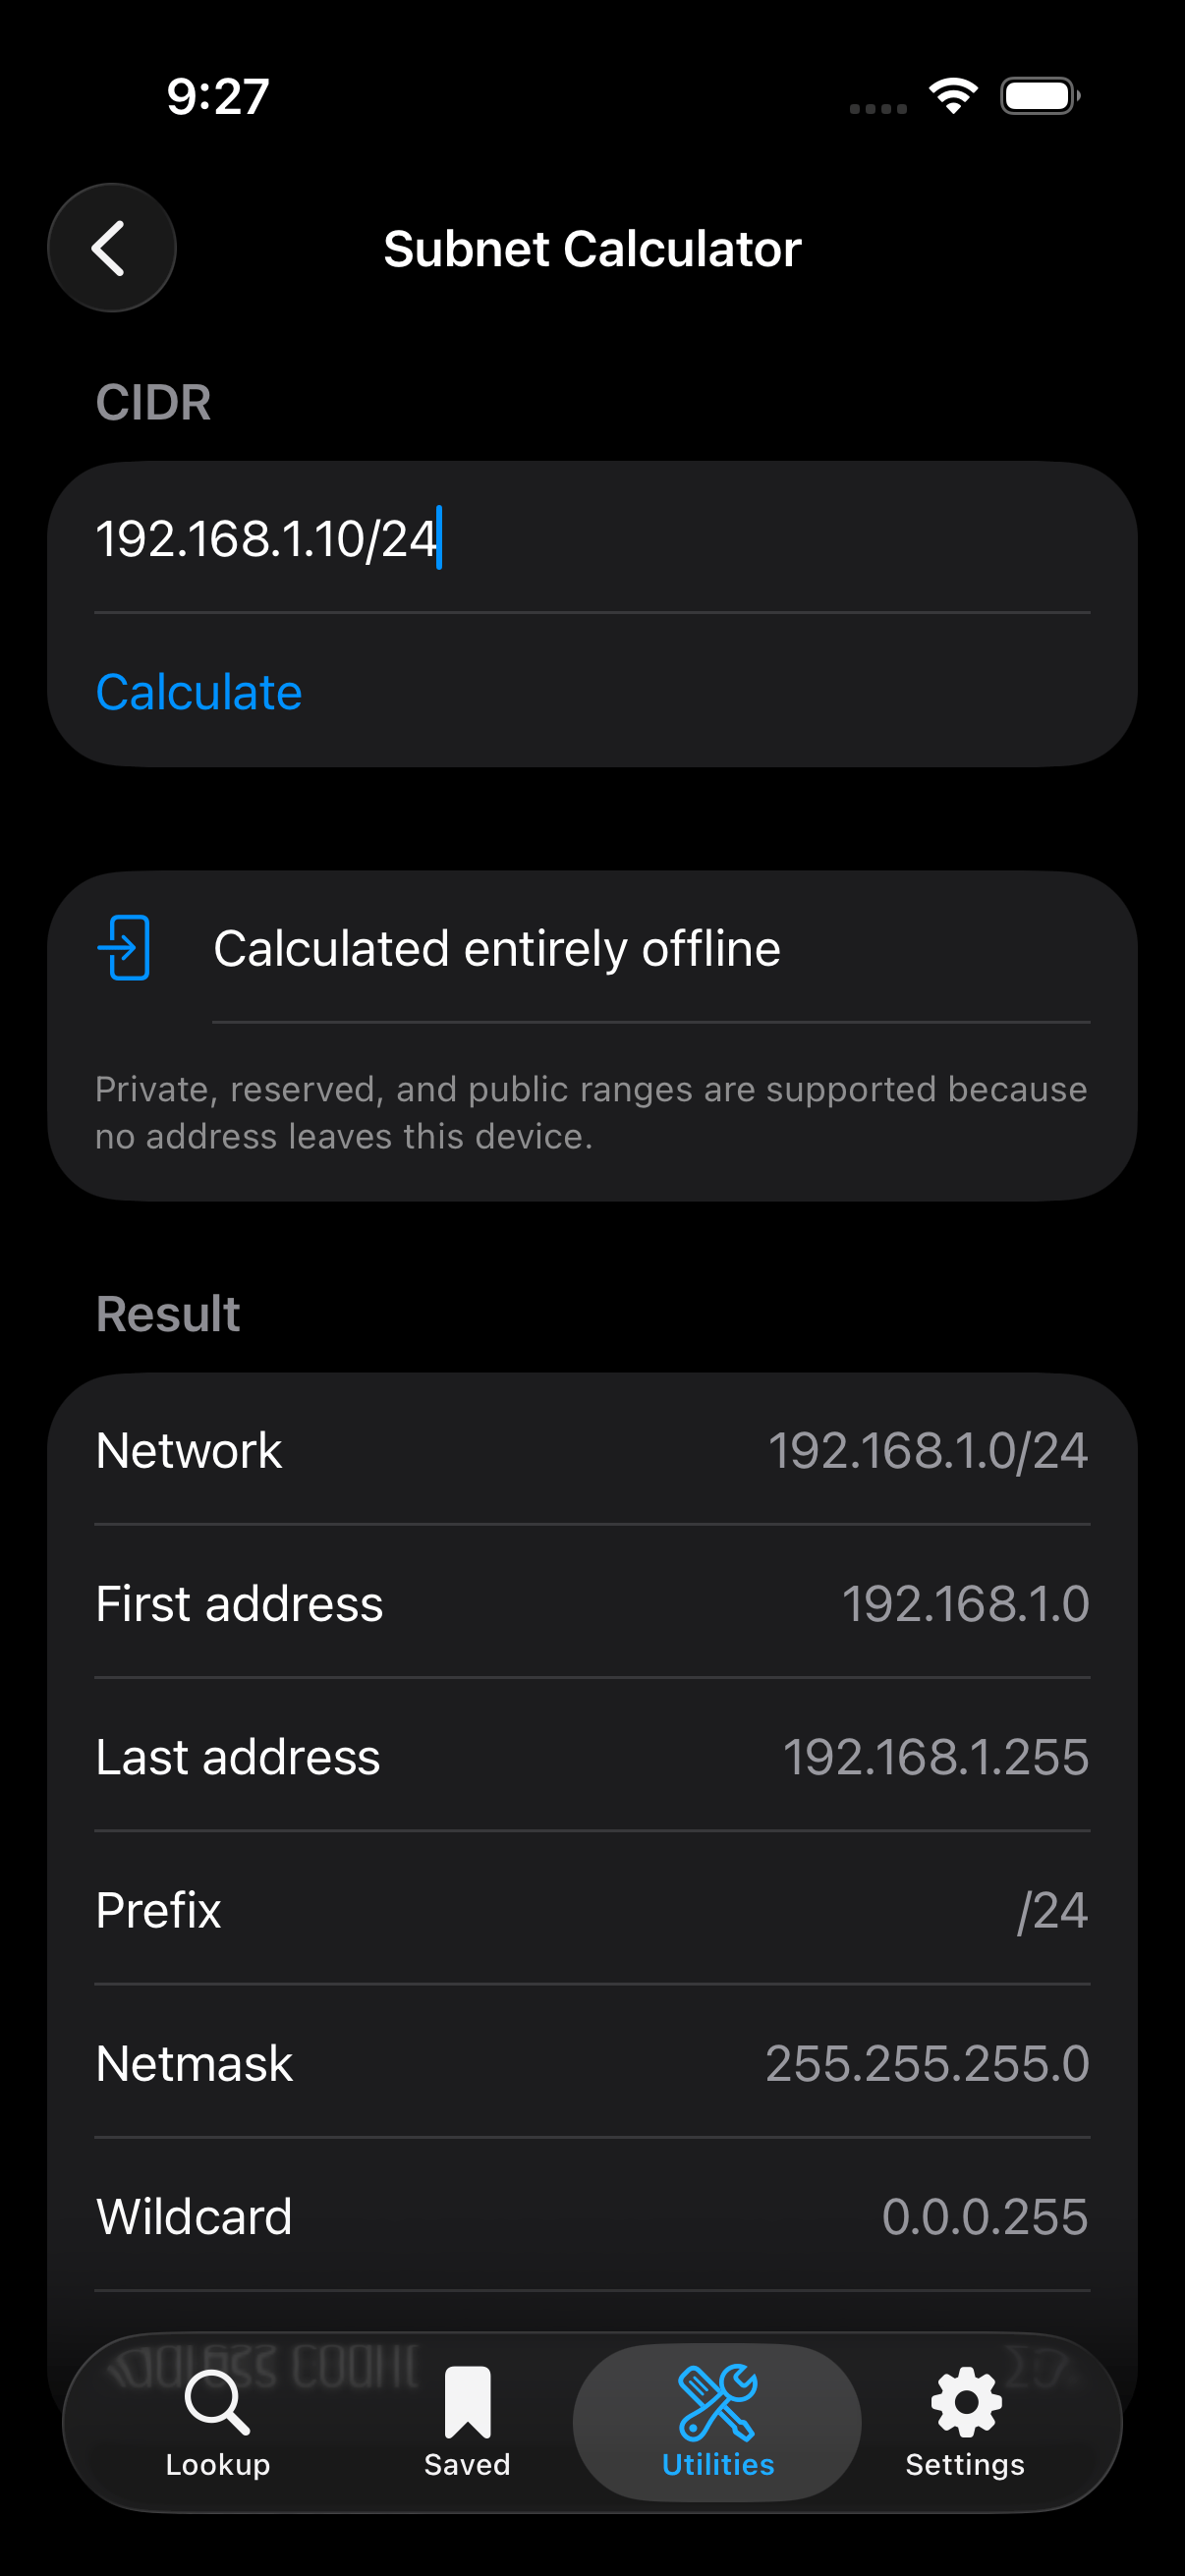
The IPv4 and IPv6 subnet calculator performs CIDR math locally.
Run a batch lookup
Open Batch IP Lookup and paste newline- or comma-separated addresses. IP Lens validates and removes duplicates locally, then looks up at most 50 unique public IP addresses per run. The app makes at most three provider requests concurrently. You can cancel a run and retain completed items, and provider failures do not discard other completed results. A partial or complete batch can be saved explicitly.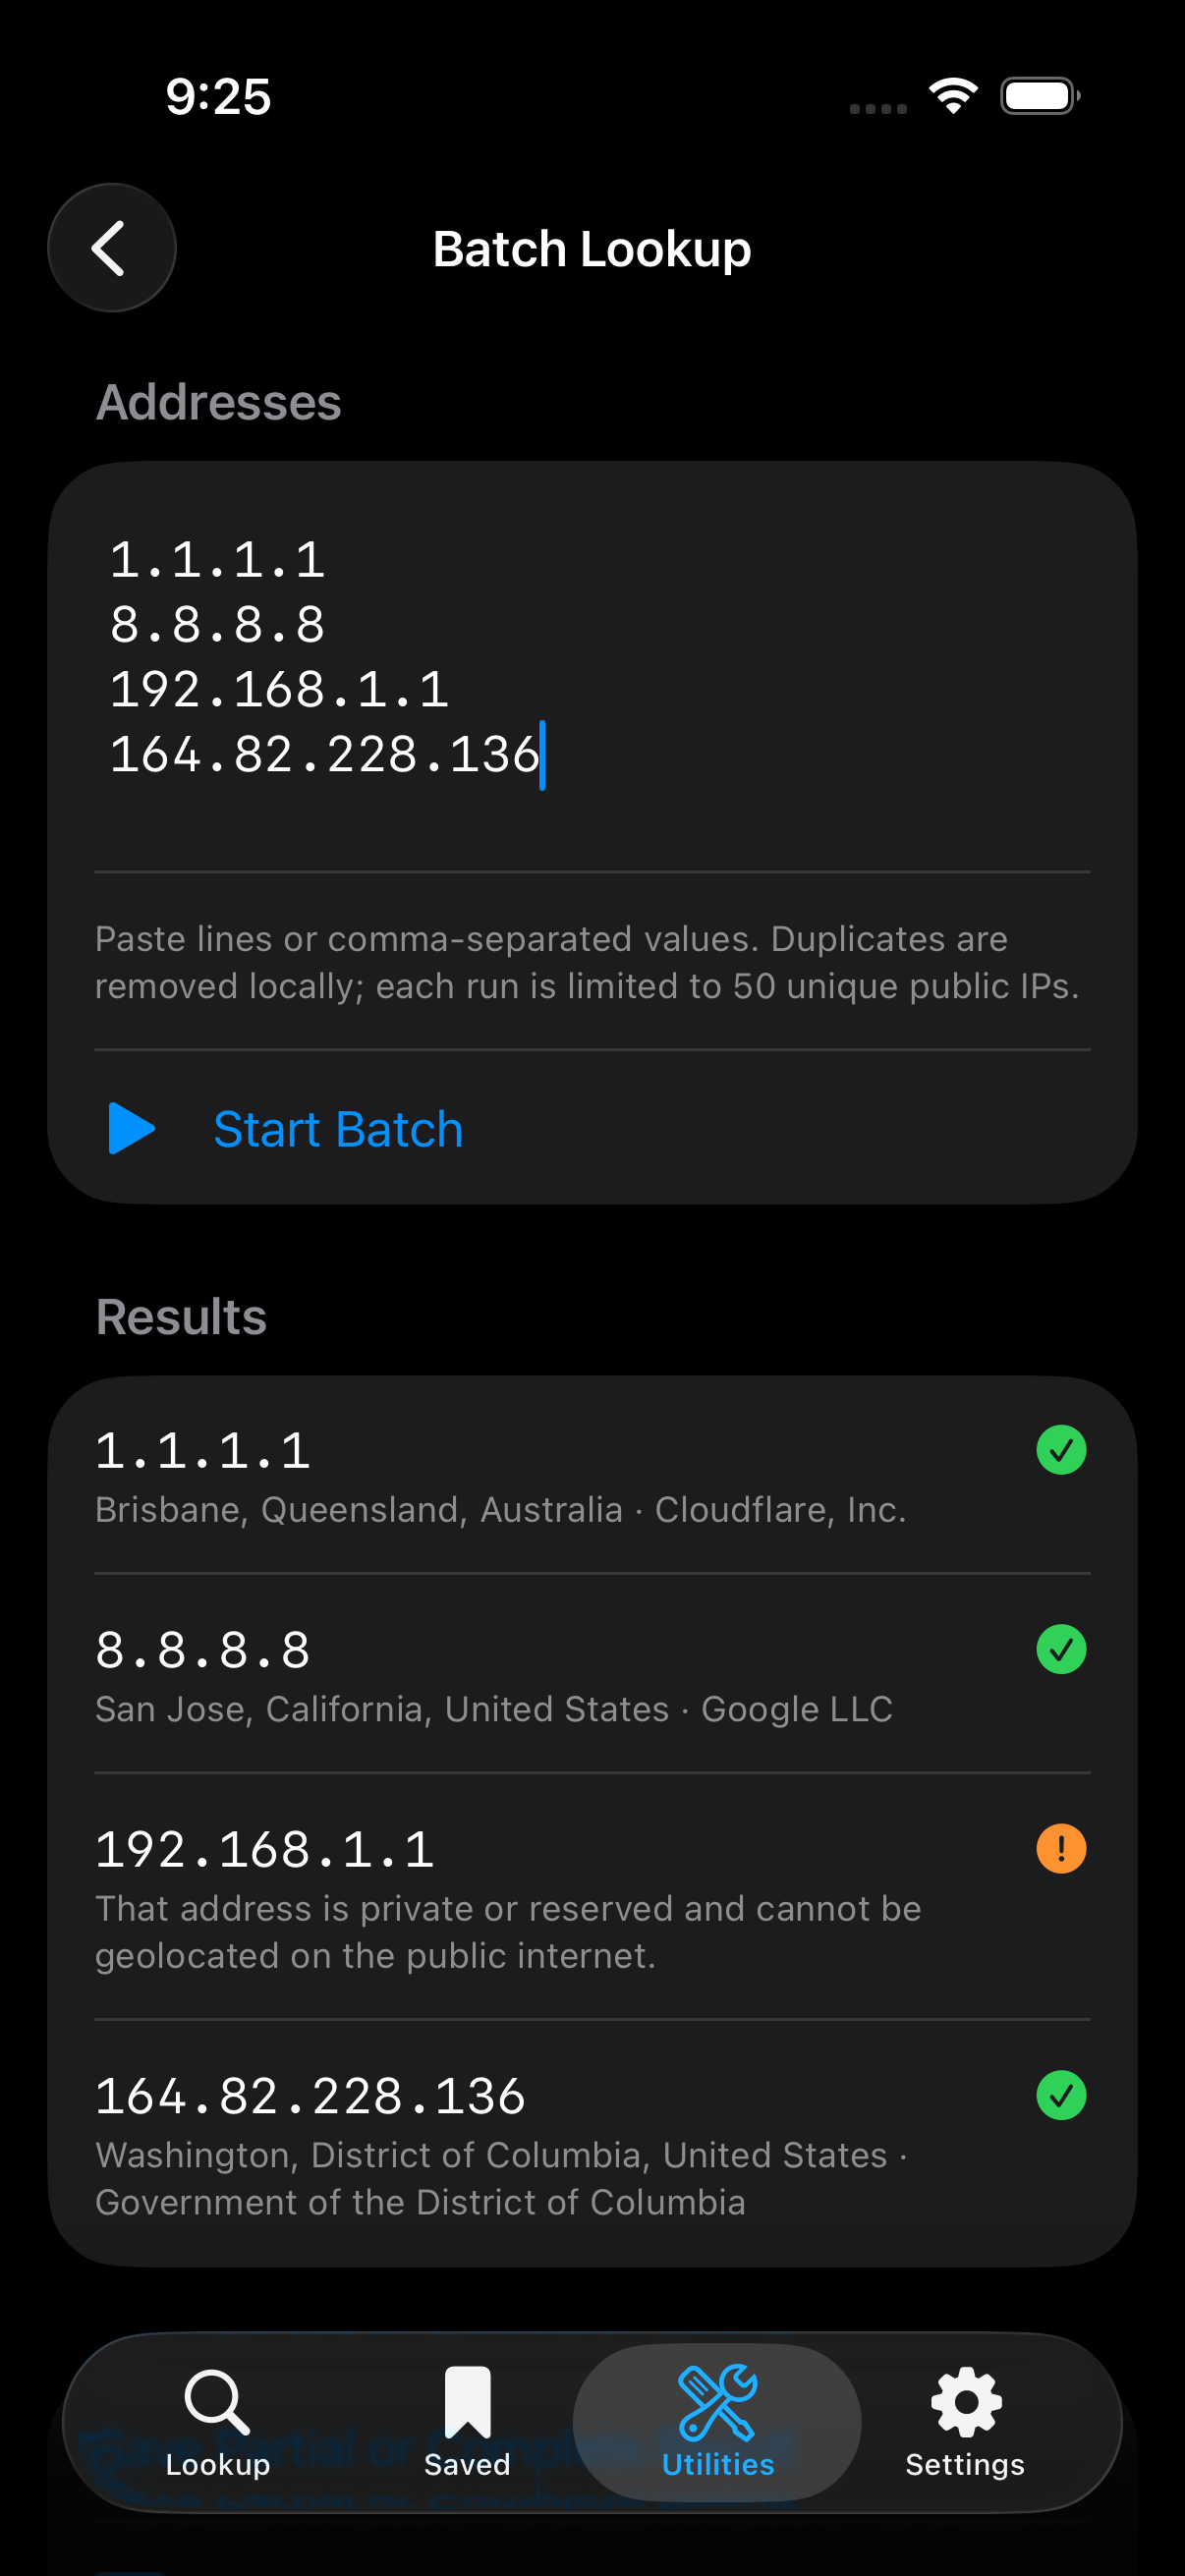
Batch Lookup organizes completed, rejected, and failed items in one result.
Save and revisit results
Successful individual IP lookups enter a history containing the 100 most recent unique addresses. You can also keep IP results as favorites and explicitly save DNS, RDAP, and batch captures. Saved snapshots remain readable offline, but they represent the data returned at capture time. Run a new online lookup when you need current provider or registry data.Export a result
For a supported current or saved result, choose Prepare CSV Export or Prepare JSON Export. IP Lens creates the file locally. After preparation, use the iOS share sheet to choose its destination. IP Lens does not upload exports to its own service. The destination selected in the share sheet controls what happens to the file next.Configure provider access
Free mode usesipwho.is without a key. Its displayed provider limit is 1,000 requests per day per client IP. If you have a personal ipwhois.pro key, add it in Settings → Personal API Key. IP Lens validates the key before storing it in Apple Keychain, then lets you select personal-key mode.
The key is not stored in app preferences, lookup snapshots, exports, or logs. Remove it from Settings when it is no longer needed.
When a request fails
- Confirm the iPhone has a working internet connection.
- Check the address, domain, ASN, or CIDR value for spaces and typing errors.
- Retry after a short delay if the provider, resolver, or registry is rate-limiting requests or temporarily unavailable.
- For DNS issues, confirm which resolver is selected in Settings.
- If personal-key authentication fails, check the key or retry the IP lookup in free mode.